Shoper CLI usage examples - Step by step
Changing theme name
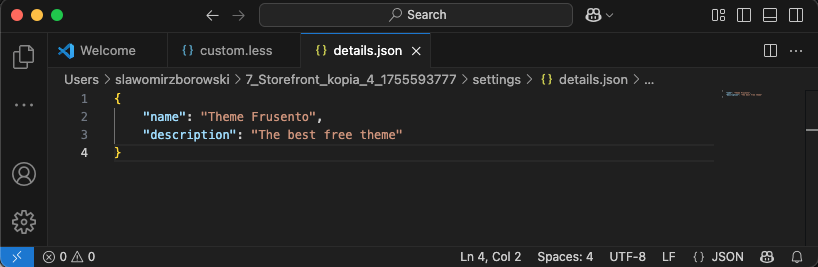
- go to / settings / details.json
- edit details.json according to JSON structure and save changes
- send changes to the server
shoper theme push
shoper theme push

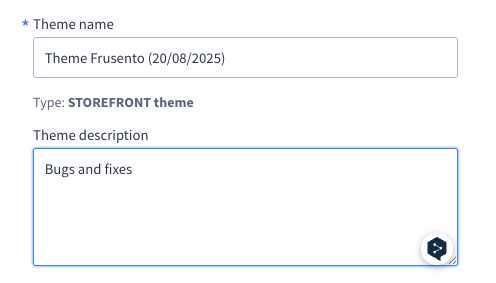
- observe the change in the store
Editing custom CSS
- go to styles and edit the custom.less file
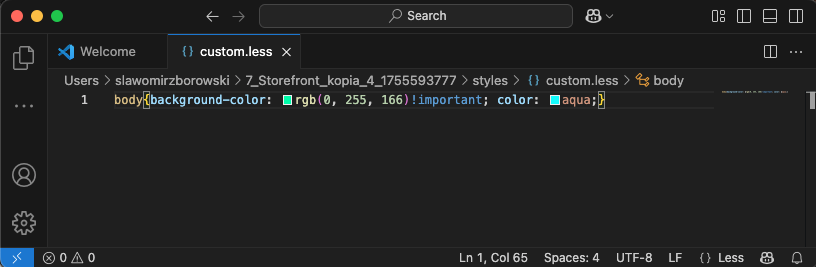
- make changes, then save
- send changes to the server
shoper theme push
shoper theme push
- Observe changes in the store
Adding a new custom macro
- Go to the macros directory located in the skin directory.
- Option 1
- If there is no custom directory in the macros directory, create it.
- In the custom directory, create a file with the .twig extension.
- Provide macro file logic according to documentation.
- Save
- Option 2
- Create a macro in the administrator panel
- Download the theme
shoper theme pull. - Copy the file with the twig extension in the custom directory.
- Provide macro file logic according to documentation.
- Save
- Send changes to the server
shoper theme push
shoper theme push
Adding a new custom module
- Go to the modules directory located in the skin directory.
- Copy an existing custom module, giving it a new, unique name. If a custom module does not yet exist, it is best to create a custom module from the administrator panel, see the help article.
- Make the necessary changes in the source code of the new module.
- Then open the settings.json file.
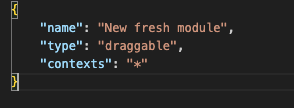
- Remove the id and code fields from the new module's configuration.
- Below is an example of what the key structure should look like after editing:
- Send changes to the server
shoper theme push
- Observe changes